Measurement methods can be classified according to the following categories:
1.Classification according to whether the measured geometric quantity is the geometric quantity to be measured
Direct measurement
It is not necessary to measure other quantities that have a functional relationship with the measured quantity, but can directly obtain the value of the measured quantity.
Indirect measurement
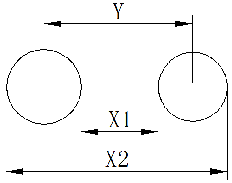
The measurement method of the measured value can only be obtained by measuring other quantities that have a functional relationship with the measured value. As shown for the hole centerYThe measurement is the measurementX1Sum of valuesX2Value and then follow the formulaY=(X1+X2)/2determineYBe worth. In order to reduce the measurement error, direct measurement is generally used, and indirect measurement can be used if necessary.

2.Classification by whether the indicated value is the entire magnitude of the measured geometric quantity
The value shown or indicated by an absolute measuring instrument is the entire magnitude of the geometric quantity to be measured.
Differential measurement (comparative measurement) compares the measured value to a known quantity of the same kind that is only slightly different from it, and determines the measurement method of the measured value by measuring the difference between the two quantities.
3.Classified by whether the measured surface is in contact with the probe of the measuring instrument at the time of measurement
Contact measurement During measurement, the probe of the measuring instrument is in contact with the measured surface and has a mechanical action to measure the force.
Non-contact measurement The probe of the measuring instrument is not in contact with the surface to be measured.
Contact measurement will cause elastic deformation of the measured surface and the relevant part of the measuring instrument, thus affecting the measurement accuracy. Non-contact measurements do not have this effect.
4.Classification by how much of the measured geometry is simultaneously measured on the workpiece
Individual measurement Each geometric quantity on the workpiece is measured separately.
Comprehensive measurement (comprehensive inspection) measures the combined results of several relevant geometric quantities on the workpiece at the same time to judge whether the combined results are qualified, without requiring the knowledge of the relevant individual values.
5.Classified according to the role played by the measurement in the processing process
Active measurement The geometry to be measured is measured while the workpiece is being machined. The measurement results can be directly used to control the processing process and prevent waste products in time.
Passive measurement The measured geometry is measured after the workpiece has been machined. Its measurement results are limited to passing qualified products and finding and eliminating nonconforming products.
6.Static measurement and dynamic measurement
Static measurement means that in the process of measurement, the probe of the measuring instrument and the measured part are in a static state, and the measured value is fixed.
Dynamic measurement means that in the process of measurement, the probe of the measuring instrument and the measured part are in a relative motion state, and the measured value is changing.

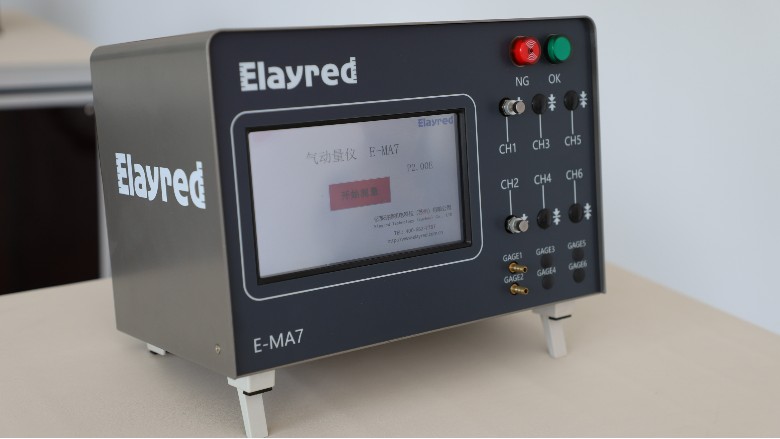
As a precision parts size pneumatic measurement equipment manufacturers, focusing on micro-precision, R & D and production of digital display pneumatic momentum meter, a variety of models, quality assurance, manufacturers direct sales, price concessions.
If you are
Digital display gas momentum meter Interested or want to know more details, please click on our online customer service for consultation, or directly call the national unified service hotline
400-682-7787. We look forward to hearing from you!


