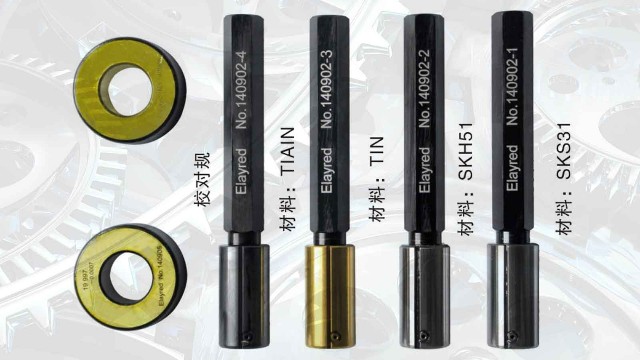
The working principle of the electronic plug gauge is a special inspection tool without scale. When using it to test the workpiece, it can only determine whether the workpiece is within the allowed limit size range, and the actual size of the workpiece can not be measured.
Electronic plug gauge is divided into smooth plug gauge, smooth limit hole gauge, limit plug gauge, hole plug gauge, its working principle is a special inspection tool without scale, when it is used to test the workpiece, can only determine whether the workpiece is in the allowed limit size range, can not measure the actual size of the workpiece.

The smooth limit gauge for testing the aperture is called the plug gauge, and a smooth plug gauge is based on a certain physical size of the hole being tested(That is, a certain limit size of the hole)Another smooth plug is manufactured according to the minimum physical size of the hole being tested(That is, a certain limit size of the hole)Made. The former is called the "general gauge" of the plug gauge.(Or "through-end")The latter is called the "stop gauge" of the plug gauge.(Or "stop end"). When used, the pass gauge of the plug gauge passes through the hole to be inspected, indicating that the measured aperture is greater than the minimum limit size; If the stopgauge of the plug gauge is not plugged into the hole to be inspected, it means that the measured aperture is less than a certain limit size, that is, the actual size of the hole is within the specified limit size range, and the hole to be inspected is qualified.
Billion leride Focus on precision parts size pneumatic measurement, if you are interested in Yileride or want to know more details, welcome to click our online customer service for consultation, or directly call the national unified service hotline
400-682-7787. We look forward to hearing from you!


