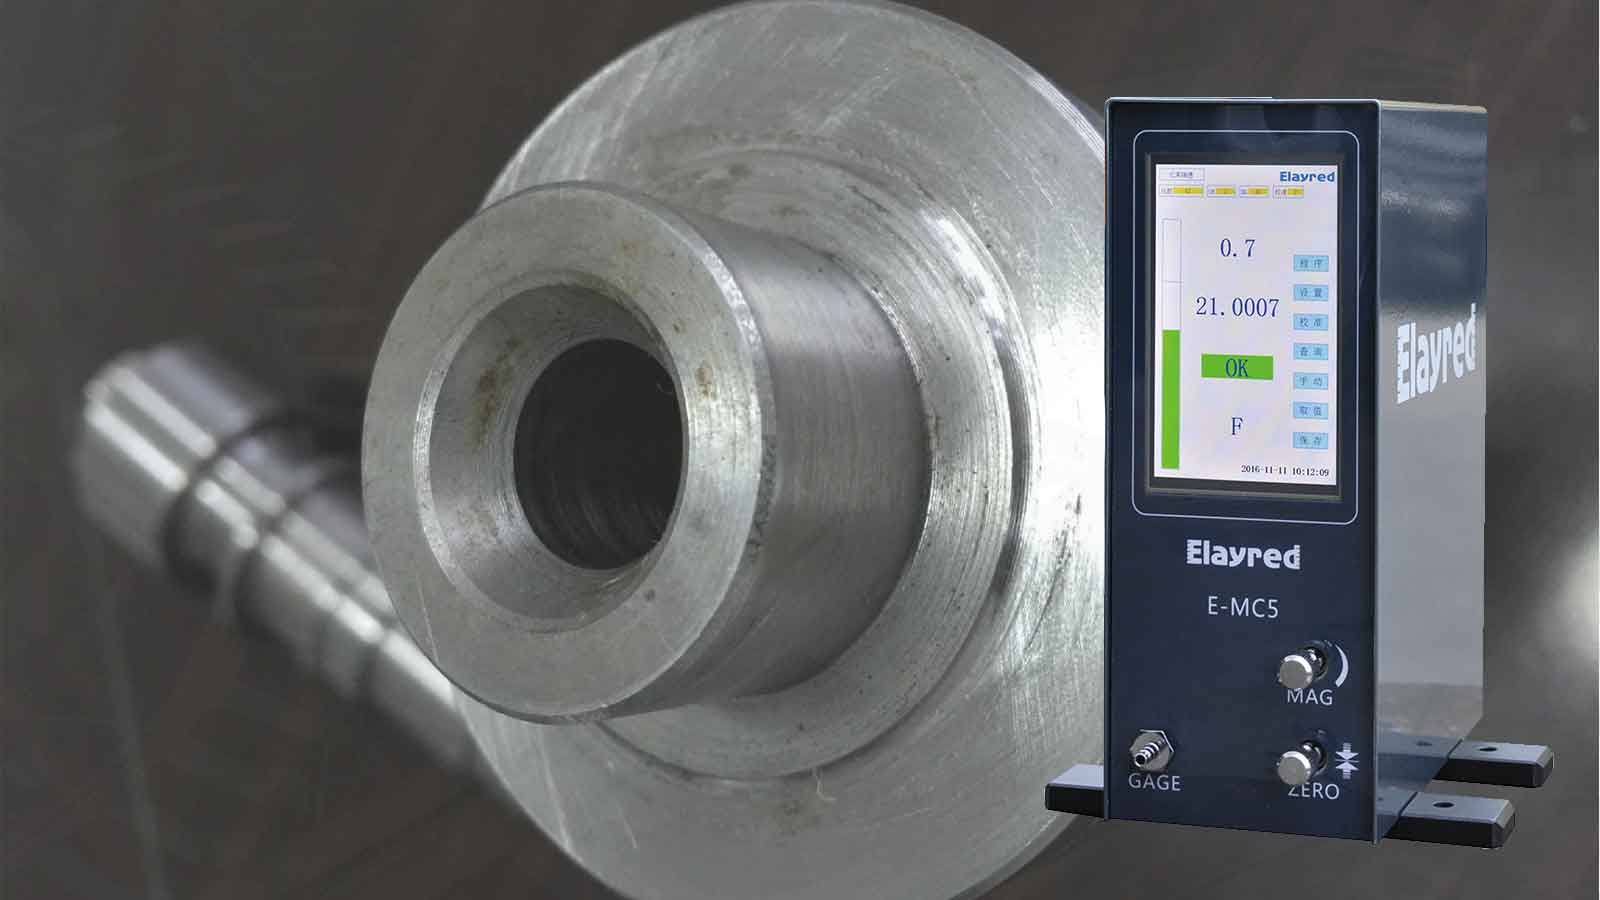
Mechanical parts appearance inspection points:
I. Test method
With a visual examination, the examiner corrects vision1.0Above, available when necessary4XTelescope or magnifying glass inspection.
The testing method shall be carried out according to the customer's requirements when required by the customer.
Second, check the eye distance
The distance from the workpiece to the eye is40CMAround.
Third, check the light source
Under normal daylight (sunny); Illuminance is1001X~2001XUnder the light of (equivalent to750MMDistant branch40WThe fluorescent lamp).
Fourth, the detection time
Observation of the appearance of a workpiece surface4~5Seconds.
5. Chamfering and rounding
If there is no clear chamfering or chamfering size on the drawing, followC0.1~C0.3orR0.1~R0.3In processing operations, all parts shall be chamfered or rounded except those parts which are clearly indicated in the drawings.
Six, batch front, burr
The workpiece has burrs and the batch front cannot have. All exposed parts (including the finished inner hole surface) must be removed burrs, to the extent that the hand is not scratched.
7. Scars
The final surface of the workpiece shall not have obvious scratch, pinch, crush or bump marks. The area of the spot injury must not be larger than1MM. Depth not greater than0.2MM; The width of the wire wound must not be greater than0.5MMThe length must not be greater than20MMThe depth must not be greater than0.0063MMRefer to sample if necessary.
Eight, knife pattern, vibration pattern
The surface of the workpiece shall not have obvious knife marks, vibration marks.
Nine, pits, bumps, lack of materials, multiple materials, steps
The surface of the workpiece shall not have obvious pits, bumps, lack of materials, multiple materials, steps.
10. Stains
The surface of the workpiece shall not have obvious oil stains, foreign bodies, stains, different colors, thread holes, and powder particles in the slot shall be blown clean.
11. Sand holes, debris, cracks
The surface of the workpiece shall not have obvious sand holes, debris, cracks.
12. Protective packaging
The workpiece must be protected, non-ferrous metal products such as copper and aluminum products need to be covered with newspaper or plastic film; Black metal should be coated with anti-rust oil.

As a precision parts size pneumatic measurement equipment manufacturers, focusing on micro-precision, R & D and production of digital display pneumatic momentum meter, a variety of models, quality assurance, manufacturers direct sales, price concessions.
If you are
Digital display gas momentum meter Interested or want to know more details, please click on our online customer service for consultation, or directly call the national unified service hotline
400-682-7787. We look forward to hearing from you!


