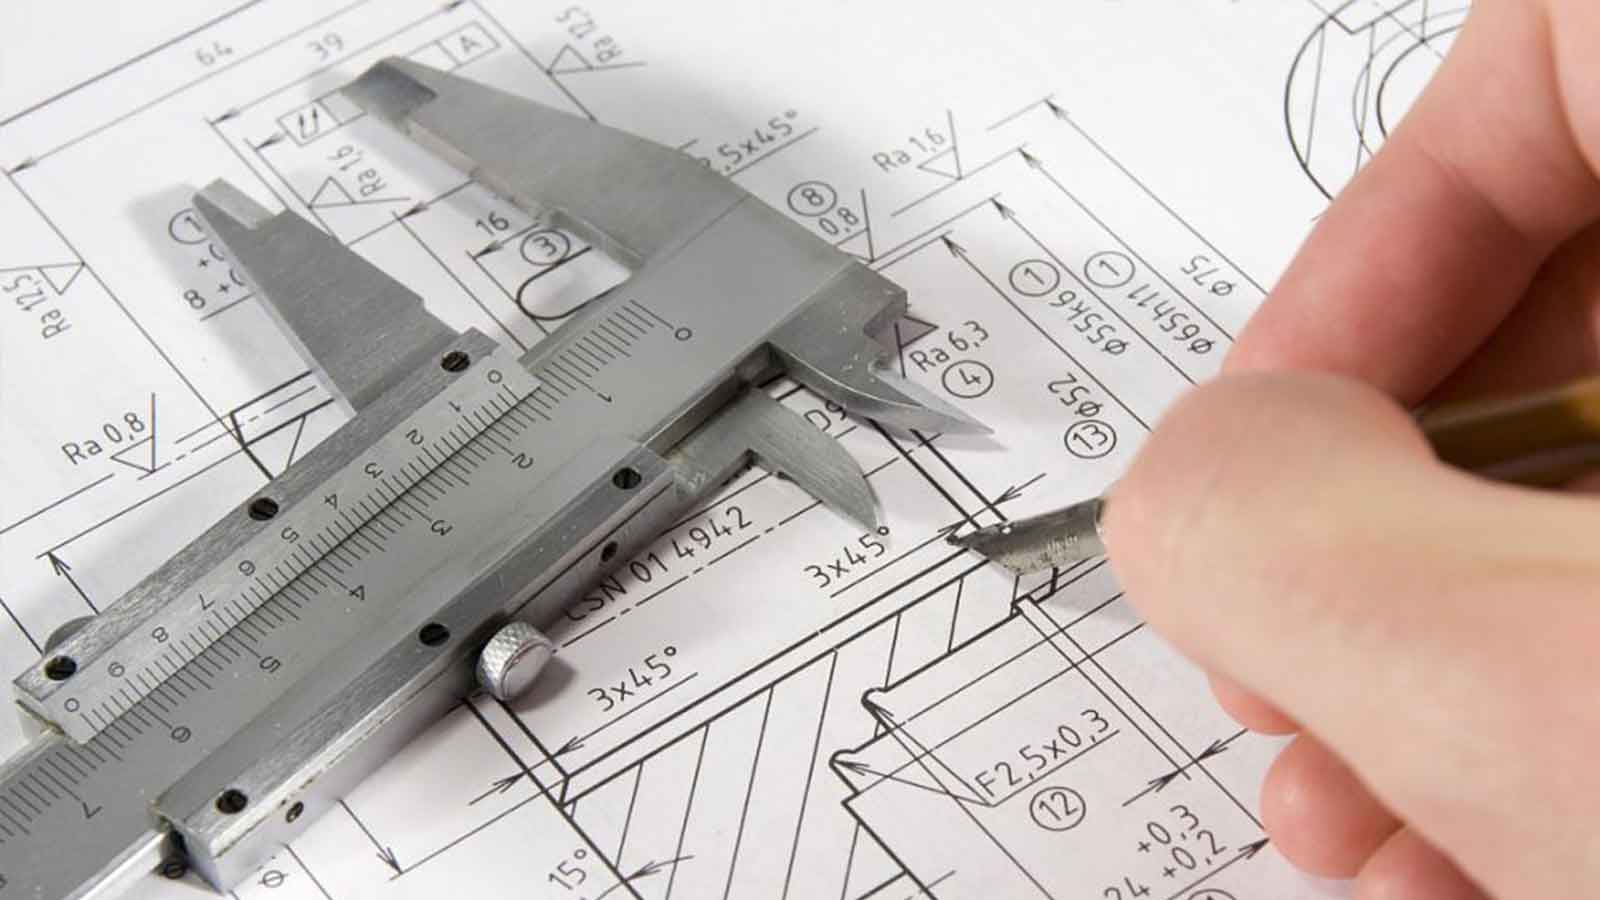
Position tolerances are divided into directional tolerances, positioning tolerances and runout tolerances, and directional tolerances include parallel tolerances, vertical tolerances, incline tolerances, this phase, billion Red red for you to talk about the relevant content of directional tolerances, I believe that after reading this article, you will better understand the meaning of those special symbols in the drawings.
Position tolerances are divided into orientation tolerances, positioning tolerances and runout tolerances, while orientation tolerances include parallelism tolerances, perpendicularity tolerances and incline tolerances.Billion lerideTo talk about the relevant content of directional tolerance, I believe that after reading this article, you will better understand the meaning of those special symbols in the drawing.

1.Parallelism:The symbol is two vertical lines (∥It represents the condition that the actual elements being measured on the part remain equidistant from the reference. When a direction is given, the tolerance zone is where the distance is the tolerance valuetAnd the area between two parallel planes parallel to the datum plane (or line, axis); When given two directions perpendicular to each other, the normal section size is the tolerance valuet1Xt2, and parallel to the datum axis of the quadrilateral prism within the region.
2.Perpendicularity:The symbols are a vertical line and a horizontal line (⊥It means that the element being measured on the part remains correct relative to the reference element90°The condition of the included Angle. When a direction is given, the tolerance zone is where the distance is the tolerance valuetAnd the area between two parallel planes (or lines) perpendicular to the datum plane (or line, axis); When given two directions perpendicular to each other, the normal section size is the tolerance valuet1Xt2, and is perpendicular to the datum axis of the quadrilateral prism within the region.
3.Inclination:The symbol is an Angle (∠It indicates that the relative direction of the two elements on the part maintains the correct condition at any given Angle. In a given direction, the tolerance zone is where the distance is the tolerance valuetAnd the area between two parallel planes (or lines) with a theoretically correct Angle to the reference plane (or line, axis).
Focusing on micro-precision, Eleride provides measuring equipment and technical services for home appliances (compressors), automotive, aerospace (aerospace), precision machining, semiconductor manufacturing and other industries. If you are
Billion lerideInterested or want to know more details, please click on our online customer service for consultation, or directly call the national unified service hotline
400-682-7787. We look forward to your call!


