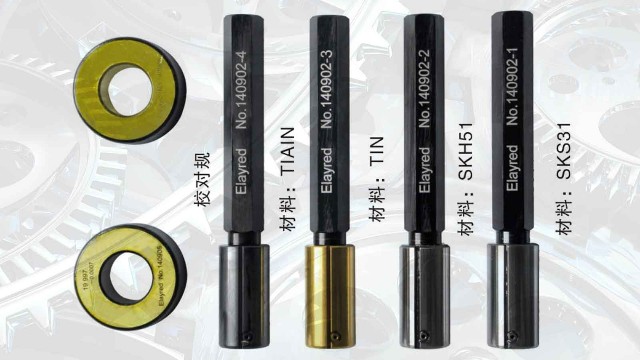
3.It is found that the precision measuring tool has abnormal phenomenon, such as the surface of the measuring tool is uneven, there are burr, rust spots and the scale is not accurate, the ruler body bending deformation, the activity is not flexible, the user can not dismantle and repair, but not allowed to use the hammer, file file, emery cloth polishing and other rough methods to repair, so as not to increase the error of the measuring tool, the correct way is to take the initiative to send the measuring station maintenance, And after checking the accuracy of quantification, continue to use.


Model:E-MA4; Measuring range:±25μm,±50μm; Resolution:0.1/0.2/0.5/1.0; Total error:2%; Number of channels:Single; Measuring function:MXMNMNIAN-AMIN2

Model:E-MC5; Measuring range:±25μm,±50μm; Resolution:0.1/0.2/0.5/1.0; Total error:≤0.3μm; Number of channels:Single; Measuring function:MXMNMNIAN-AMIN2

Display screen:7Inch; A/E:EA-2; Accuracy:≤0.3μm Resolution:0.1/0.2/0.5/1.0 Unit:μm/mm/inch