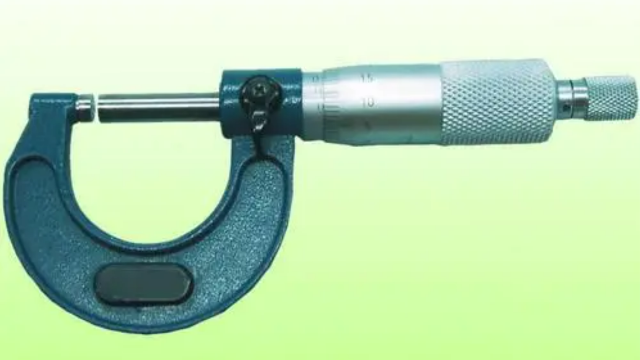
When the micrometer measures the diameter of the shaft, at least two or more directions are measured and the micrometer in the maximum measurement is measured in sections. The two contact surfaces should be kept clean at any time to reduce the measurement error.

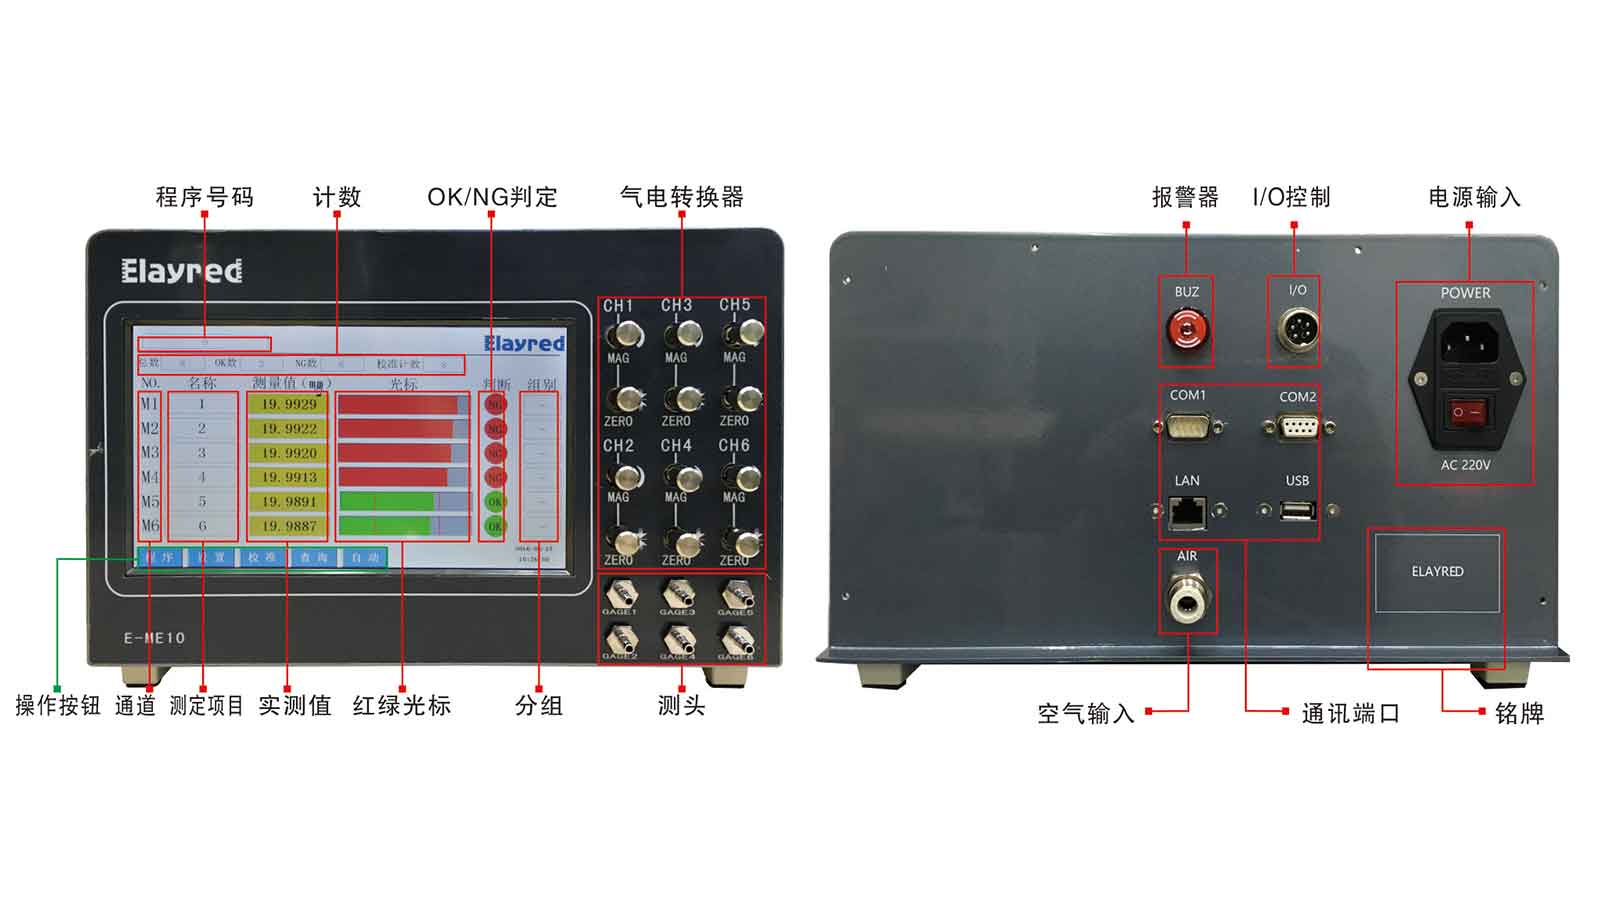
As a precision parts size pneumatic measurement equipment manufacturers, focusing on micro-precision, R & D and production of digital display pneumatic momentum meter, a variety of models, quality assurance, manufacturers direct sales, price concessions.


Model:E-MA4; Measuring range:±25μm,±50μm; Resolution:0.1/0.2/0.5/1.0; Total error:2%; Number of channels:Single; Measuring function:MXMNMNIAN-AMIN2

Model:E-MC5; Measuring range:±25μm,±50μm; Resolution:0.1/0.2/0.5/1.0; Total error:≤0.3μm; Number of channels:Single; Measuring function:MXMNMNIAN-AMIN2

Display screen:7Inch; A/E:EA-2; Accuracy:≤0.3μm Resolution:0.1/0.2/0.5/1.0 Unit:μm/mm/inch