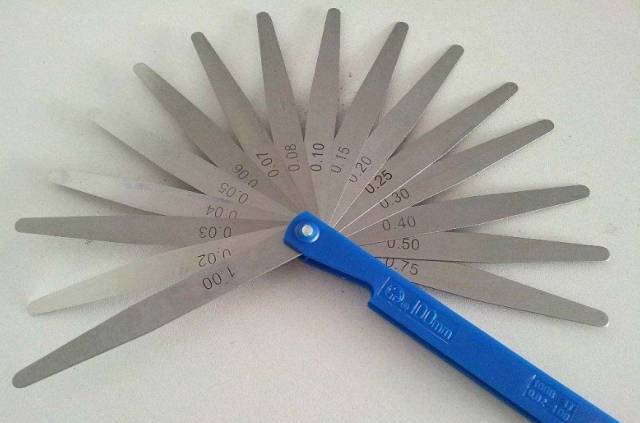
It is suitable for the measurement of flatness, curvature and straightness.

Place one side of the straight Angle of the measured zero on the platform, and make the other side close to the square. Use the feeler to measure the maximum gap between the part and the square.
As a precision parts size pneumatic measurement equipment manufacturers, focusing on micro-precision, R & D and production of digital display pneumatic momentum meter, a variety of models, quality assurance, manufacturers direct sales, price concessions.

Prev : How to apply plug gauge (rod)?
Next : How to use micrometer?

Model:E-MA4; Measuring range:±25μm,±50μm; Resolution:0.1/0.2/0.5/1.0; Total error:2%; Number of channels:Single; Measuring function:MXMNMNIAN-AMIN2

Model:E-MC5; Measuring range:±25μm,±50μm; Resolution:0.1/0.2/0.5/1.0; Total error:≤0.3μm; Number of channels:Single; Measuring function:MXMNMNIAN-AMIN2

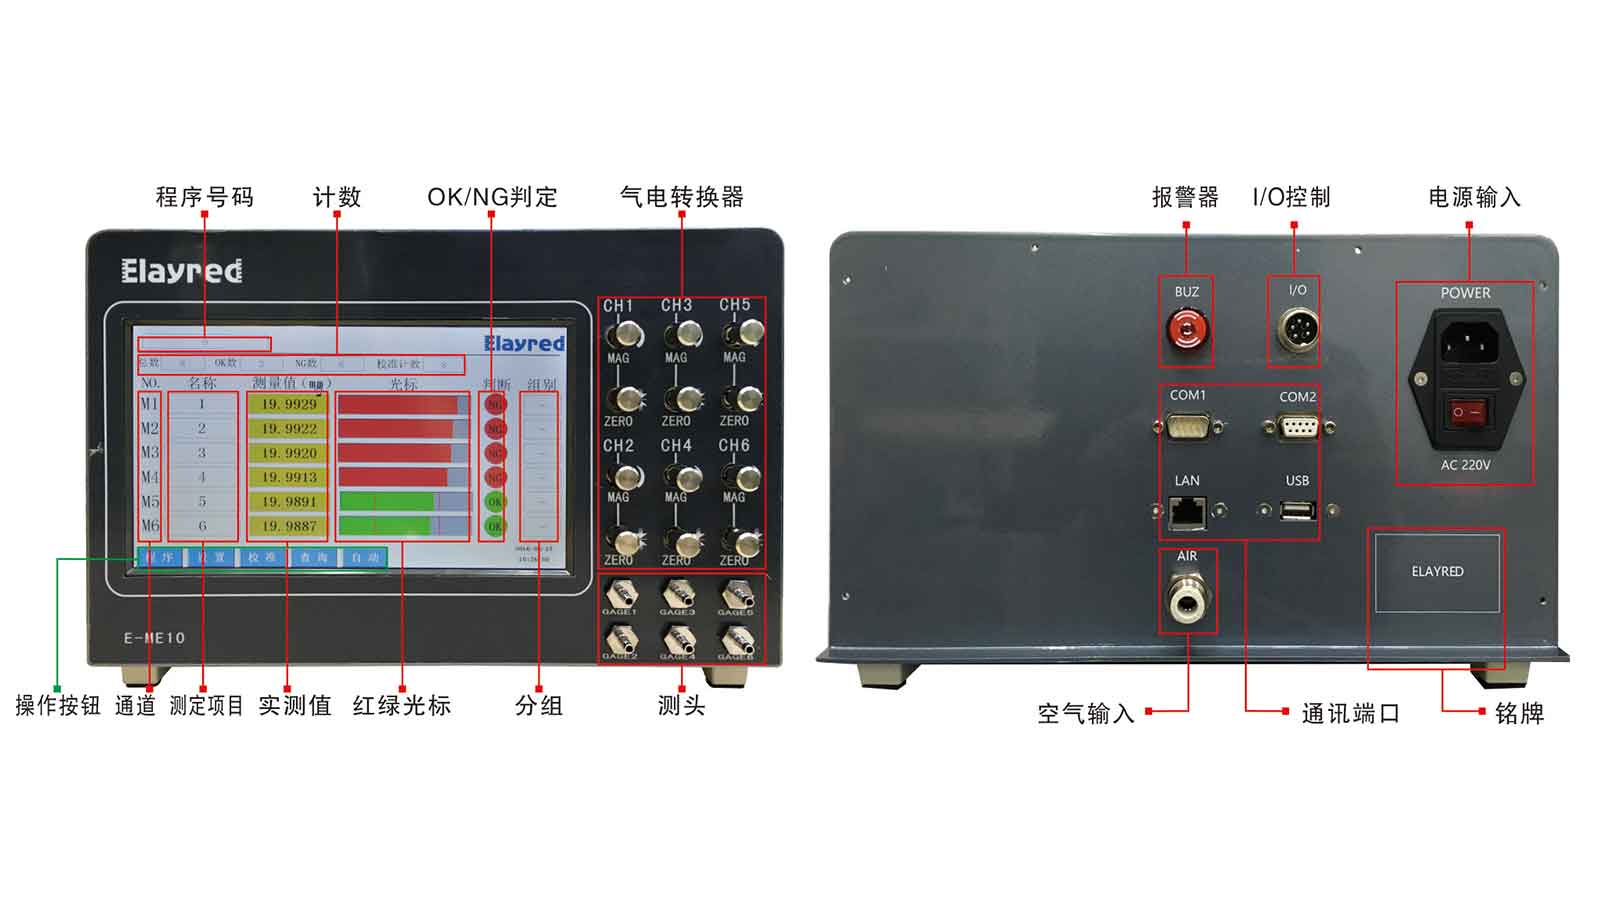
Display screen:7Inch; A/E:EA-2; Accuracy:≤0.3μm Resolution:0.1/0.2/0.5/1.0 Unit:μm/mm/inch