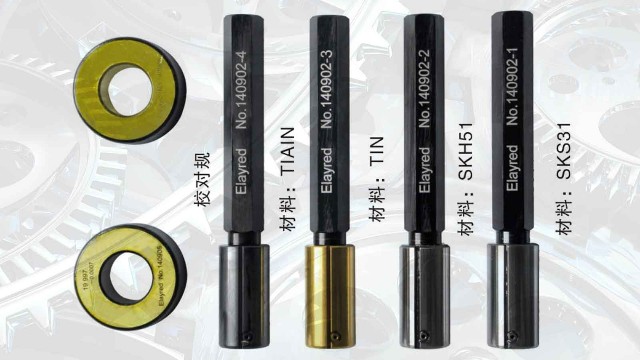
Inspection and measurement process: First of all, clean the oil and impurities of the measured thread plug gauge, and then after the ring gauge and the measured thread are in line, turn the ring gauge with the thumb and index finger to make it in the free state to screw through the whole length of the thread to determine qualified, otherwise to judge


Model:E-MA4; Measuring range:±25μm,±50μm; Resolution:0.1/0.2/0.5/1.0; Total error:2%; Number of channels:Single; Measuring function:MXMNMNIAN-AMIN2

Model:E-MC5; Measuring range:±25μm,±50μm; Resolution:0.1/0.2/0.5/1.0; Total error:≤0.3μm; Number of channels:Single; Measuring function:MXMNMNIAN-AMIN2

Display screen:7Inch; A/E:EA-2; Accuracy:≤0.3μm Resolution:0.1/0.2/0.5/1.0 Unit:μm/mm/inch