As we all know, measuring instruments belong to a class of instruments, is a test of product quality. After a certain period of human operation, the measuring instrument will be affected by surrounding environmental factors, such as dust, air, temperature, humidity, etc., which will make the instrument appear more or less error. Just like people, in the daily exercise, every day at work, there will be more or less small problems, and sometimes I do not know if I will have any disease, so I will regularly go to the hospital for a whole-body examination, and the results of the examination will be reflected in the inspection report in detail, so the instrument calibration is the same thing. When using the instrument, in order to understand whether the instrument is shown when testing the product, it is necessary to perform instrument calibration once at a fixed period, and the resulting instrument calibration results will be reflected in detail on the report.


Model:E-MA4; Measurin...

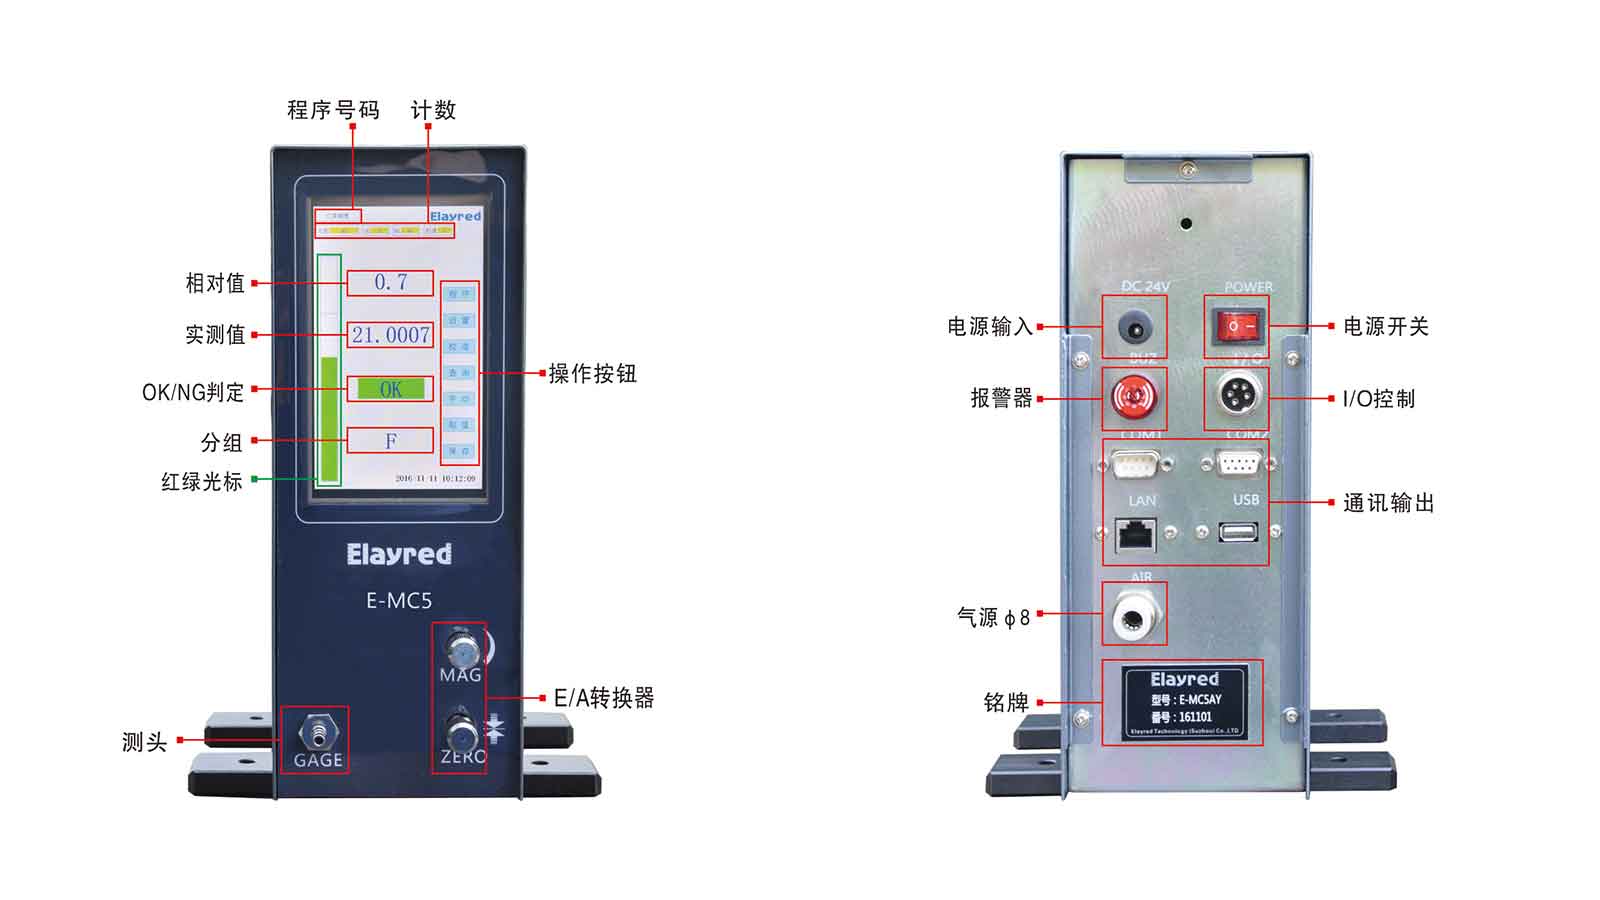
Model:E-MC5; Measurin...

Display screen:7Inch; A/...