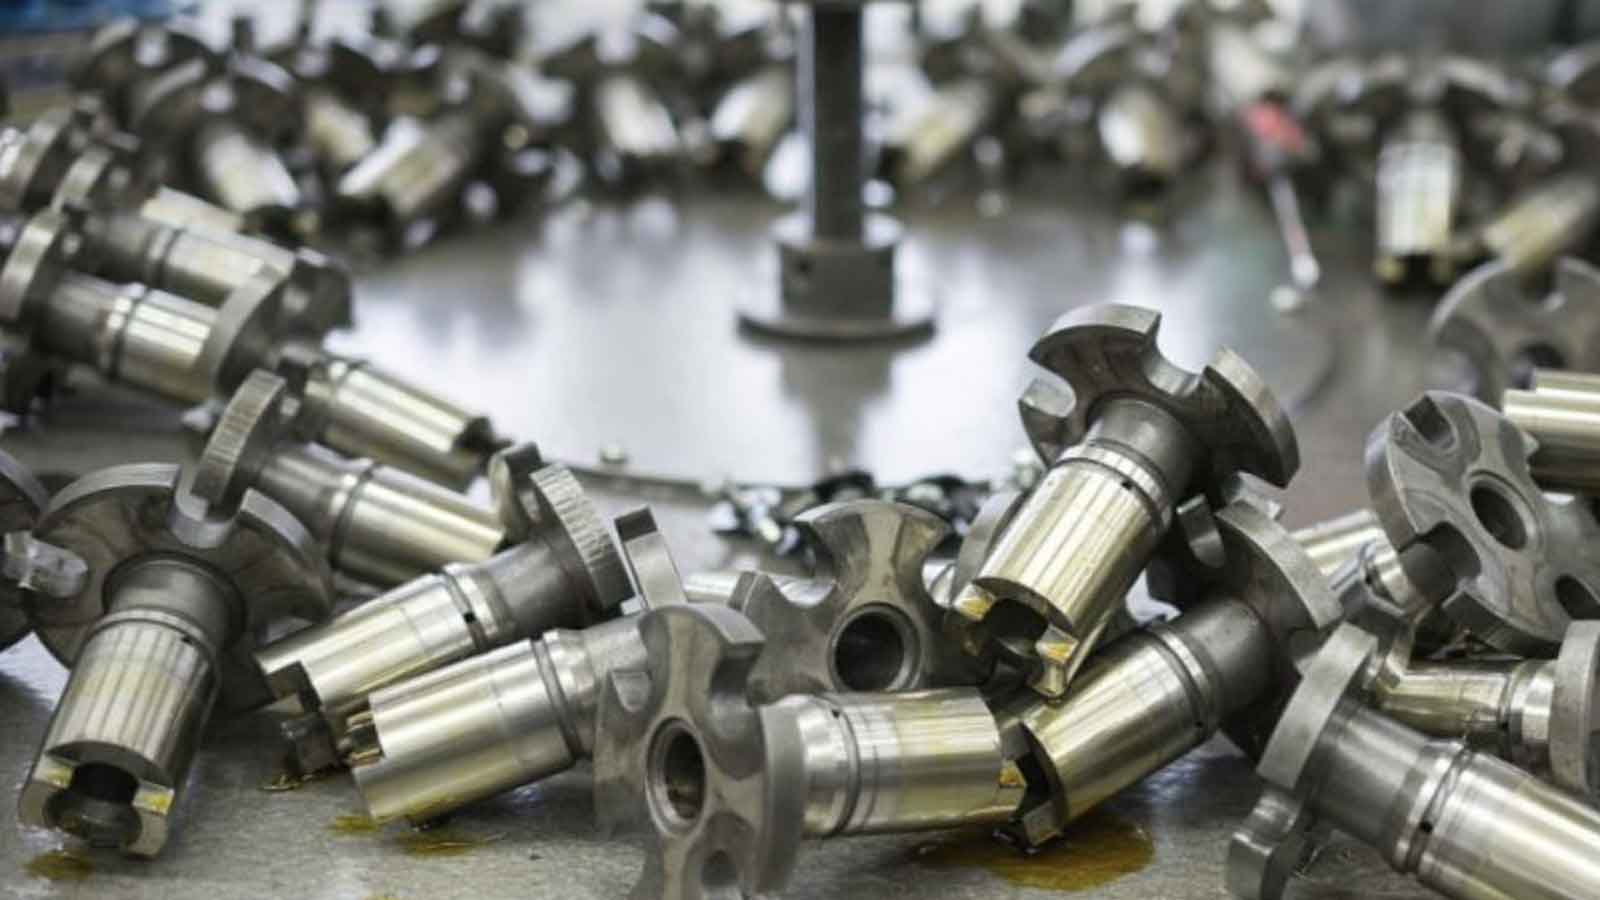
Common detection methods for the position accuracy of shaft parts include: perpendicularity of the plane of shaft parts to the reference axis; The coaxiality of the shaft parts to the reference axis; The circular runout of the measured surface of the shaft part to the reference axis.
familiarShaft partsThe detection methods of position accuracy include: the perpendicularity of the plane of the shaft part to the reference axis; The coaxiality of the shaft parts to the reference axis; The circular runout of the measured surface of the shaft part to the reference axis.

1Perpendicularity detection of the plane of shaft parts to the reference axis.
You can use the following3Method to check the verticality error.
①Check the perpendicularity between the end face and the reference axis.
②Detect the verticality between the platform plane and the reference axis.
③Detect the perpendicularity of the axis of the outer circle and the reference plane.
2Detect the coaxiality of the measured axis of the part to the reference axis.
The following two methods can be used to detect the coaxiality of the measured axis of the part to the reference axis.
①Measurement axis relative to the reference axis coaxiality error.
②Measure the coaxiality error of the axis with respect to the common reference axis of the outer circle at both ends.
3Measure the circular runout error of the surface of the part relative to the reference axis.
The following two methods can be used to measure the circular runout error of the part surface with respect to the reference axis.
①Measure the radial circular runout error of the shaft surface with respect to the common axis of the outer cylindrical surface at both ends.
②Measure the circular runout error of the end face of the shaft against the reference axis.
Eileride specializes in pneumatic measurement of precision parts dimensions, producing measuring tables that can be measured quickly and accurately
Crankshaft length, inside and outside diameter, outside diameter roundness, outside diameter runout, cylindricity, concentricityEqual size parameters if you want
Measuring the dimensions of shaft partsOr for more information, please click on our online customer service for consultation, or call the national unified service hotline directly
400-682-7787. We look forward to your call!


